
Installing a faucet can seem daunting, but with the right tools and steps, homeowners can tackle this project confidently. Here’s a straightforward guide to help you install a new faucet in your kitchen or bathroom.
Gather Your Tools and Supplies
Before you begin, gather the necessary tools: an adjustable wrench, basin wrench, plumber’s tape, and a bucket. Make sure you have your new faucet and any included hardware ready.
Step-by-Step Installation
- Turn Off Water Supply: Locate the shut-off valves under the sink and turn them off. Open the faucet to release any remaining water and pressure.
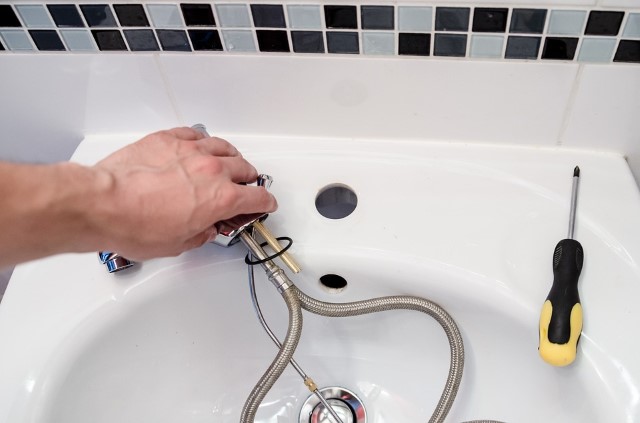
- Remove the Old Faucet: Use a wrench to disconnect the water supply lines from the faucet. Unscrew and remove the mounting nuts that hold the faucet in place. Carefully lift out the old faucet.
- Prepare the New Faucet: Attach the new faucet’s supply lines if they aren’t pre-installed. Apply plumber’s tape to the threads to ensure a good seal and prevent leaks.
- Install the New Faucet: Position the new faucet into the mounting holes. From underneath the sink, secure it with mounting nuts, tightening them with a basin wrench.
- Reconnect Water Supply: Attach the supply lines to the shut-off valves, ensuring a snug fit.
- Check for Leaks: Turn the water supply back on and open the faucet. Check for any leaks around the connections and tighten if necessary.
Final Touches
After ensuring there are no leaks, clean the area around your new faucet. Enjoy the improved functionality and appearance of your sink.
Installing a faucet is a manageable DIY project that can save you money and give you a sense of accomplishment. With these simple steps, homeowners can achieve professional results.
Recent Comments